Adding a Solar Panel to an Existing System: How-to Guide


Solar panels are becoming increasingly popular as more and more homeowners realize the value they offer. From clean energy to lower utility bills, adding more solar to your home is never a bad idea.
But what if you already have a system? Can you add a solar panel to it on your own? Or is it better to hire a professional? And how would you even get started with a DIY installation anyway?
We created this guide to answer all of those questions. It covers everything you need to know about adding a solar panel to your existing system, including step-by-step instructions for getting the job done the right way.
So let’s get started.
Can I Install Solar Panels Myself?
The first question you may have is whether or not it’s even possible to add a solar panel to your home on your own or if you need to hire a professional with a special set of tools to do this.
The answer is that it’s absolutely possible to install solar panels on your own. But should you do it? That will depend on how you feel about electrical wiring and DIY projects.
Installing solar panels involves getting the panel and your tools up to your roof, drilling holes, and performing some basic wiring tasks. Those are all things you can do on your own, but it’s always risky to work with electrical wiring in this way when you aren’t super familiar with it.
So – you can perform a DIY installation if you want to add a solar panel to your home. But if you’re not familiar with the techniques, tools, and processes we lay out in the following sections, you may be better off hiring a professional.
Now, let’s dive into the step-by-step instructions on how to add a solar panel to an existing system!

Step 1: Know Your Energy Needs
The first step in this process is knowing how much more solar energy you want to generate than what your system does now. This can vary based on your goals and how far away you are from reaching them. In some cases, it may be necessary to add more than one extra solar panel to your existing system.
If you aren’t sure how much more energy you need out of your solar system, look at your electric bills for the past several months. These will tell you how much energy your home uses on a monthly basis. You can then figure out how much of that you would like to replace with solar and purchase a panel that is capable of creating that much energy.
One thing to keep in mind while shopping is that solar panels often are marketed based on how they perform in optimal conditions. You may need to purchase a panel with 10 to 20% more capacity than what you think you need just to make sure you definitely get as much energy as you need out of it, even when conditions aren’t perfect.
Step 2: Where to Add the Panel on Your Roof
Next up, figure out where you’re going to place the panel on your roof. If you’re lucky, you will just be able to put it right next to your other solar panels. But you might also have already run out of room there.
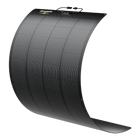
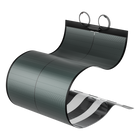
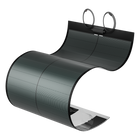
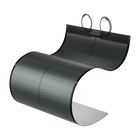
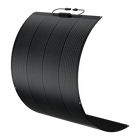
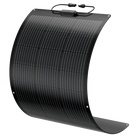
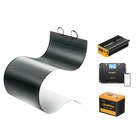
If you don’t have any more flat, level surfaces on your roof, then you may still be able to find a solution. There are thin-film flexible solar panels that are bendy enough to fit any surface – even if it’s far from level.
The downside to thin-film solar panels is that they tend to generate less power than traditional solar panels. But it may be the only option you have if you’re out of flat roof space.
When choosing where to place the new panel, you should also consider the sun. You want the panel to receive as much sun as possible throughout the day. Roof placement plays a massive role in that so it’s important to think carefully before finalizing your decision.
Step 3: Buy Your Solar Components
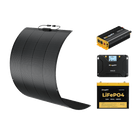
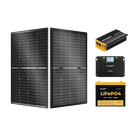
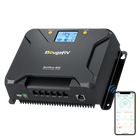
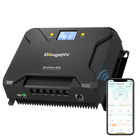
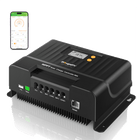
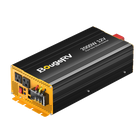
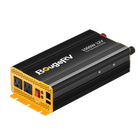
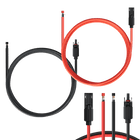
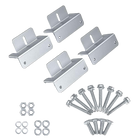
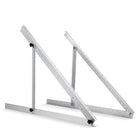
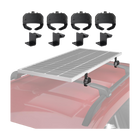
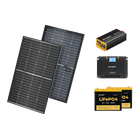
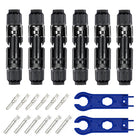
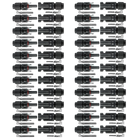
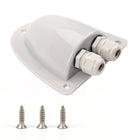
At this point, you're ready to purchase the solar components you need to do the job. That may be as simple as purchasing the new solar panel you want to add to your home and using the included installation gear. Or you may need more components, such as an inverter or wiring to connect the new panel to your existing system.
If you’re not sure exactly what you need, it’s not a bad idea to consult with a solar professional. BougeRV also has solar consultants available you can speak with if you need some help deciding on a purchase. Give us a call or reach out to us online if you need some support.
Step 4: Turn the Power Off
This is a simple step but an important one. Whenever you’re working with your home’s electrical wiring, you have to turn your power off. If you don’t, the electrical current will continue flowing while you work, and you could be seriously injured.
If you aren’t sure how to turn off the power to your home fully, give your utility company a call. They’ll walk you through the process to make sure you’re safe before you get up on your roof and start working.
Step 5: Set Up Your Panels
Once you have the items you need to complete your installation, you can get started with the process by bringing the panel up to your roof and attaching it to your chosen spot. You will likely need to drill holes in your roof and secure the panel with screws.
The process for connecting your new panel to your existing system can vary based on the type of panels you’re installing and how your existing system was set up. But you can typically find manufacturer-specific instructions online if you look them up on Google.
If you aren’t able to find instructions for adding a new solar panel to your existing system, consider calling the company that made your solar panels. A representative should be able to give you instructions or at least tell you how to find the answers that you’re looking for.
It’s important to follow these instructions during the installation process carefully. If you don’t, you could damage your existing solar system and create a hazardous situation for yourself, your family, and your home. Remember, if you’re not confident about completing this DIY task, there’s no shame in contacting a professional to help you out.
Step 6: Connect Your Battery and Inverter
At this point, you may or may not need to connect the solar panel to your battery and inverter. Once again, a lot of this depends on the specific panels you’re using.
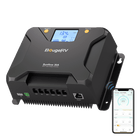
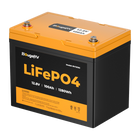
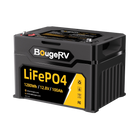
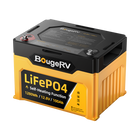
Your battery and inverter will help to regulate the solar charge and keep your system running as efficiently as possible. If you don’t have one of these set up yet, take a look at the shop on BougeRV to learn about your options.
Conclusion

If you want to add a solar panel to your existing solar energy system, you can do it on your own. However, the specific installation details can vary based on the type of system that you have.
It’s also important to consider whether you’d be better off hiring a professional to do the job for you. Adding a solar panel to your home can be a dangerous project that’s risky to complete if you aren’t familiar with things like electrical wiring and working on your roof.
If you’re looking for solar panels, batteries, or the accessories you need to complete this project, check out the shop on BougeRV. We carry all of these and everything else you might need in the world of solar energy.
Adding a Solar Panel to an Existing System FAQs
1. Can I Add a Solar Panel to My Existing System?
Yes, you absolutely can add a solar panel to an existing solar system. The process can vary some based on the type of panels you have but typically involves choosing the right spot on your roof to maximum sun exposure, drilling holes into your roof, and completing some basic electrical wiring tasks.
2. How Do You Connect Solar Panels to Your House?
You can connect solar panels to your house by choosing the right spot on your roof, drilling holes there, and then securing the panels to the roof with screws. You will also need to connect the new panel to your existing system via electrical wiring, the specifics of which can vary based on the type of system you have.
3. Is It Dangerous to Install a Solar Panel Yourself?
It can be dangerous to install a solar panel on your own if you aren’t experienced with the tasks you’ll need to complete while doing so. For example, if you’ve never worked on a roof or completed electrical wiring tasks around the house, it may be better to call a professional just to reduce your risk of injury.


