 Skip to content


Easy Steps to Install Solar Panels on Bimini!


As boating enthusiasts, we all know how significant it is to have access to reliable power while out on the water. From charging our phones to powering our navigation systems, having a reliable power source is essential. This is where solar panels for Bimini come in. Not only do they keep your batteries charged and your appliances running, but they also help reduce our carbon footprint.
In this article, we'll guide you on installing solar panels on your Bimini boat step-by-step.
Why Install Solar Panels on Your Bimini?
First and foremost, let's talk about why you should consider investing in solar power for your boat.
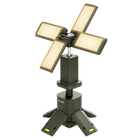
Solar panels are a clean, renewable energy source that can power your boat's electrical systems without relying on gasoline or diesel. Thus, you can save money on fuel costs and reduce your carbon footprint. Besides, solar panels require minimal maintenance, making them a cost-effective and hassle-free solution for boaters.
Installing solar panels on your Bimini can also free up space on your boat by eliminating the need for a generator or extra batteries. As a result, your boating experience becomes more comfortable and enjoyable, as you'll have more space for passengers and gear.
Finally, solar panels can increase the value of your boat. Many boaters are looking for eco-friendly solutions, so a boat with solar panels can be a significant selling point.
How Do You Attach Solar Panels to a Bimini?

Now that you know the benefits of solar power for your boat, let's talk about how to install solar panels on your Bimini. Mind that the process may vary depending on the Bimini type you have and your solar panels' size. Always read the manufacturer's instructions before beginning installation.
-
Evaluate Your Energy Needs
The first step in installing solar panels on your Bimini boat is to assess your energy needs. This way, you can figure out how many panels you need and what size they should be. Start by listing all the electrical devices on your boat that you want to power with solar energy, for instance, lights, refrigerators, and navigation equipment.
-
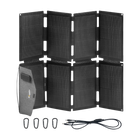
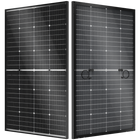
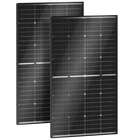
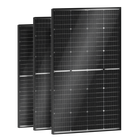
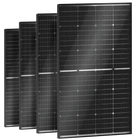
Choose the Right Solar Panels
Different solar panels are available in the market, but not all are suitable for marine use. Make sure to choose marine-grade solar panels that are specifically designed to withstand harsh marine environments. In addition, look for panels that have a high-efficiency rating, as this will help you get more power from the same amount of sunlight.
Besides, choosing the right size of solar panels is also important. You can determine the suitable solar panel size by measuring the surface where you want to place the solar panel.
-
Find the Right Spot
The next step is to find the right location for your solar panels. Ideally, you want to install them in an area that gets the most sunlight and is shade-free.
On a Bimini boat, the best place for solar panels is on the top of the Bimini. Attaching solar panels on Bimini boats ensure the panels get plenty of sunlight and are out of the way of other equipment on the boat.
-
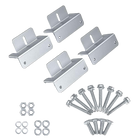
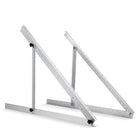
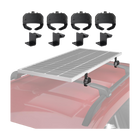
Attach the Mounting Brackets
After having your solar panels and the mounting place ready, attach the mounting brackets to your Bimini top. The mounting brackets need to be positioned to allow for maximum sunlight.
We recommend using stainless steel screws to attach the brackets to your Bimini top. And use the appropriate drill bit and screw size for your Bimini material.
-
Install the Mounting Hardware
Make sure to tighten the hardware securely to ensure your solar panels remain in place. Follow the manufacturer's instructions carefully and use the appropriate tools for the job.
-
Install the Solar Panels
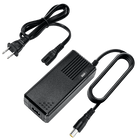
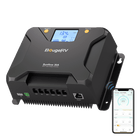
With the mounting hardware in place, it’s time to install your solar panels. Begin by attaching the panels to the mounting brackets or clamps. Then connect the positive and negative wires from the panel to a charge controller. The charge controller regulates the amount of energy going to the battery bank.
-
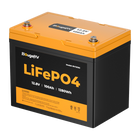
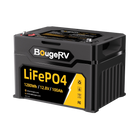
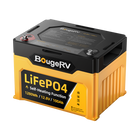
Connect to Your Battery Bank
Once you’ve installed solar panels, connect them to your boat's battery bank. This will allow the solar panels to charge your batteries and power your boat's electrical systems. Make sure to follow the manufacturer's instructions for wiring the panels to your battery bank.
-
Test the System
With everything connected, the final step is to test your Bimini solar panel system. Check that the panels generate power and that the controller works correctly. Turn on the appliances and see if they are getting enough power from the solar panels. If everything is working properly, congratulations! You have successfully installed solar panels on your Bimini boat.
Also, monitor the system's performance over time to ensure it meets your power needs. Consult the manufacturer's instructions or contact customer support if you encounter any issues.
Still unclear about how to install it? Here’s a useful video that helps.
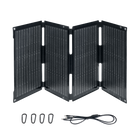
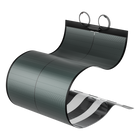
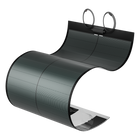
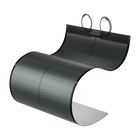
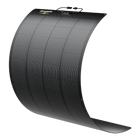
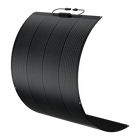
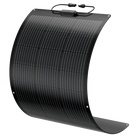
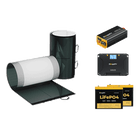
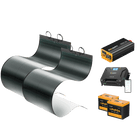
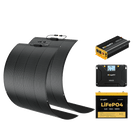
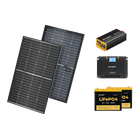
How Do You Attach a BougeRV’s Yuma CIGS Solar Panel to a Bimini?

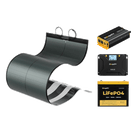
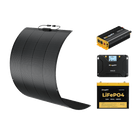
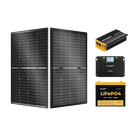
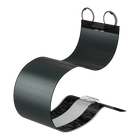
Measure the dimensions of your Bimini top to determine the appropriate solar panel size. Various rectangle or square cracking-resilient CIGS solar panel sizes are available from BougeRV.
All these CIGS solar panels have pre-assembled adhesive and holes, so you don’t have to do hassling brackets and hardware mounting jobs when it goes to the next step. Now, install the panel onto the Bimini by the 3 following easy steps:
1. Peel off the protective tape in order

2. Attach the Yuma CIGS flexible solar panel to the spot on your boat.
With our pre-assembled adhesive, you can securely stick the back of the panel to the bimini canvas in a few seconds without worrying about accidental cracks on panels or damaging your boat!

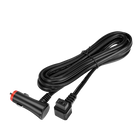
3. Connect battery terminal wires to the charge controller, then connect the solar panels to the charge controller.

Pro tips:
-
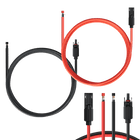
If your cables feature MC4 connectors, you can directly connect them with our solar panel connectors.
-
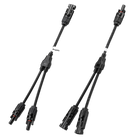
Series connection is available to produce desired voltage output.

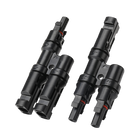
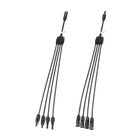
3. You can wire the solar panel in parallel to create the desired current with the solar parallel connector.

Conclusion
Follow the steps above to ensure a successful installation and enjoy the benefits of free, clean energy while out on the water. Let's do our part in preserving our planet for future generations.
So why wait? Invest in solar panels for your boat today and enjoy a cleaner, more efficient boating experience.


