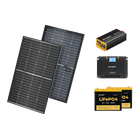
How to Install Solar Panels and Inverter?


Unleash the power of the sun in your own home or RV! Installing solar panels and an inverter can be a game-changer, slashing your electric bills.
In this blog post, we'll show you a diagram of connecting solar panels to a battery and inverter, and shine a light on easy steps on how to connect solar panels to a battery and inverter with ease. Plus, we will answer some common questions about this process at the end.
Let's get started!
How to Connect Solar Panel to Battery and Inverter Diagram?
Before we delve into the installation process, let's take a moment to familiarize ourselves with the necessary components and their connections. The following diagram offers a visual representation of how the solar panels, battery, and inverter are connected:

Source: 8 billion trees
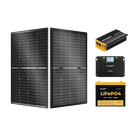
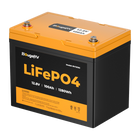
The solar panels capture sunlight and convert it into DC power, which is then stored in a battery.
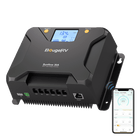
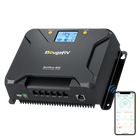
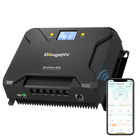
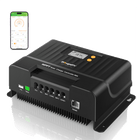
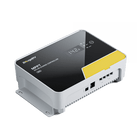
The charge controller regulates the electricity flow from the solar panels to the battery, which helps prevent overcharging and ensures the battery’s longevity.
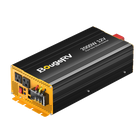
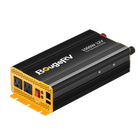
The inverter is responsible for converting the stored DC electricity into AC power that can be used to power your home or appliances.
Electrical panel: This is where the AC electricity produced by the inverter is distributed throughout your home or business.
Easy Steps on How to Install a Solar Panel and Inverter
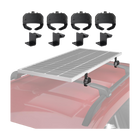
Step 1. Install the Mounts

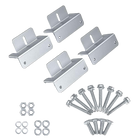
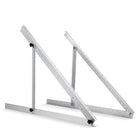
Secure mounts for your solar panels, ensuring they're facing the optimal direction with a tilt based on your hemisphere.
You can go with mounts that attach directly to your roof or ground, or choose some low-profile flush mounts—whatever works best for you. This setup is super important because it will keep your solar panel stable and secure.
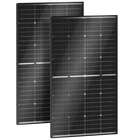
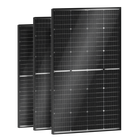
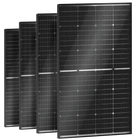
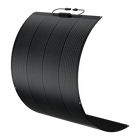
Whether fancy Monocrystalline solar panels or Polycrystalline ones will be installed, you need to think about which direction they're facing. If you're living in the Northern Hemisphere, you'll want to point your solar panels south to get the most sun. Down in the Southern Hemisphere? Aim your solar panels north.
And remember, you should have the solar panel mount slightly tilting. An angle somewhere between 18° and 36° is usually the sweet spot.
In addition, some folks even use a solar tracker to bump up how much power they’re getting. It helps the solar panels follow the sun’s path like a sunflower—pretty neat, right?
Step 2. Install the Solar Panels

The next thing is to attach the solar panels to the mounts securely. You'll be busy with nuts and bolts. Make sure you tighten everything down well, so it's all solid and can stand up to whatever Mother Nature throws at the solar panels for a long time.
Explore more: How to Install Solar Panels on an RV? -All You Need to Know!
Step 3. Wire Solar Panels
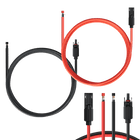
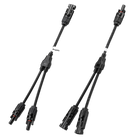
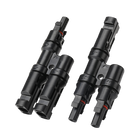
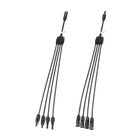
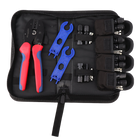
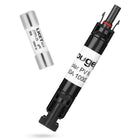
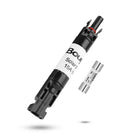
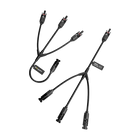
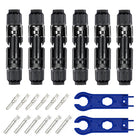
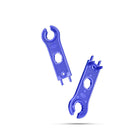
Next up, use MC4 connectors to wire the panels either in series or parallel, depending on your system's voltage and current requirements. Use the MC4 connectors because they are compatible with any solar panel type.
-
Series connection: take the positive (+) wire from one panel and connect it to the negative (–) wire on the next one. It's like linking them in a chain. Series connection increases the voltage.
-
Parallel connection: connect all the positive wires together and all the negatives together. This way, each solar panel's voltage stays the same.
Step 4. Connect the Solar Panels to the Charge Controller

Wire the solar panel terminals to the charge controller. Connect the positive and negative terminals of the solar panels to the corresponding terminals on the charge controller.
Step 5. Connect the Charge Controller to the Battery

Properly connect the charge controller to the battery to regulate charging and prevent damage. Attach the positive and negative terminals from the charge controller to the respective terminals on the battery, ensuring a secure connection.
Read more: What Size Charge Controller Do I Need?
Step 6. Connect the Battery to the Inverter

Using appropriate cables, connect the battery to the inverter. Connect the positive and negative terminals of the battery to the corresponding terminals on the inverter.
Step 7. Connect the Solar Panels to the Inverter(optional)
This step only applies to grid-tied systems with inverters that are designed to connect directly to solar panels without the need for a battery bank. Off-grid systems typically include batteries.
If you have a grid-tied system without batteries, connect the solar panels directly to the grid-tie inverter. Take the positive wire from your solar panel and stick it on the positive terminal of the inverter, and then do the same with the negative wire to the negative terminal.
For an off-grid setup, this step will be omitted.
Step 8. Connect the Inverter to Your Home’s Electrical Panel/direct Loads
For a grid-tied system, link the inverter to your home's main electrical panel. For off-grid systems, the inverter will connect to a standalone panel or direct loads.
Step 9. Turn On the Inverter
Start the inverter using the main switch and check the displays for proper operation. Most inverters come with a nifty digital display that'll give you the lowdown on how much solar juice you're generating and using. It's like having your own power control center at your fingertips!
Conclusion
In a nutshell, installing solar panels and an inverter is a smart way to harness solar energy for your home or RV.
By following our straightforward steps, from mounting panels to connecting to your battery, inverter, and electrical system, you can enjoy sustainable power. Remember to consult with professionals when needed to ensure safety and efficiency.
Get ready to soak up the sun's savings!
FAQs
1. Can I Connect My Solar Panels Directly to My Inverter?
Yes, you can connect your solar panels directly to an inverter in grid-tied systems where the inverter is specifically designed for this purpose. However, it’s not recommended to do so in off-grid systems without a charge controller and a battery.
You need a charge controller and a battery to act as an intermediary between the solar panels and the inverter to regulate and convert the electricity.
*grid-tied systems are common and often preferred due to net metering
*off-grid systems typically require batteries for energy storage.
2. Is It Better to Have an Inverter for Each Solar Panel?
Having a separate inverter for each solar panel, known as a microinverter, can optimize the power output of individual solar panels. However, this approach can be costly and complex. It’s more common to have a single inverter for a group of solar panels, which is called a string inverter.
3. Can I Connect an Inverter to My Solar Panels Without Involving Batteries?
Yes, in grid-tied systems, it’s possible to wire an inverter directly to your solar panels without battery banks. Off-grid systems usually need batteries unless you are using an inverter with built-in MPPT for direct DC loads.
4. How to Connect the Solar Panel to the Inverter Without Battery?
In an off-grid system, to connect a solar panel directly to an inverter without involving a battery, you will need a charge controller to regulate and convert the electricity.
For a grid-tied system, the solar panel can be connected to a grid-tied inverter with integrated MPPT functionality.


